How to Install Jenkins With Tomcat in Ubuntu
Home / How To / How to install Jenkins with a .war file in AWS EC2 Ubuntu 20.04 instance
How to install Jenkins with a .war file in AWS EC2 Ubuntu 20.04 instance
How To 29 Views
Jenkins is an open source tool for continuous integration and continuous distribution. It is an automation tool that helps to build, test and distribute software reliably. It is written in Java and comes with hundreds of plugins. Jenkins also supports the distribution of work across multiple servers. It's very easy to configure Jenkins and get started. In this article, we will install Jenkins with the .war file in Apache Tomcat. We will use AWS EC2 Ubuntu 18.04 server to perform this activity. You can even use a virtual machine on your local machine or remote server with Ubuntu 18.04 on it.
Conditions
- AWS account (Create if you do not have one).
- An EC2 instance (Click here to learn how to create an EC2 instance) or a virtual machine with at least 256 MB of RAM and 1 GB of hard disk space.
What should we do?
- Download the Jenkins and Apache Tomcat package.
- Install Java and initialize Apache Tomcat with Jenkins.
- First installation by Jenkins.
Download the Jenkins and Apache Tomcat package
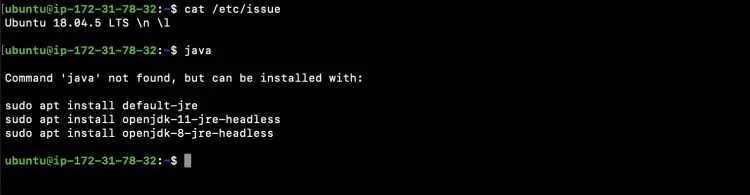
Before we begin the installation, let's check the OS version and see if Java is available on the server with the following commands.
cat / etc / problem
java
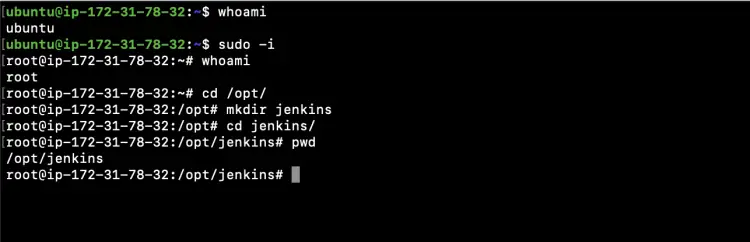
Check the current user you are logged in with and switch to "root" user.
who am I
sudo -i
who am I
Create a new directory in / opt / where we download Jenkins and Apache Tomcat packages.
cd / opt /
mkdir jenkins
cd jenkins /
pwd
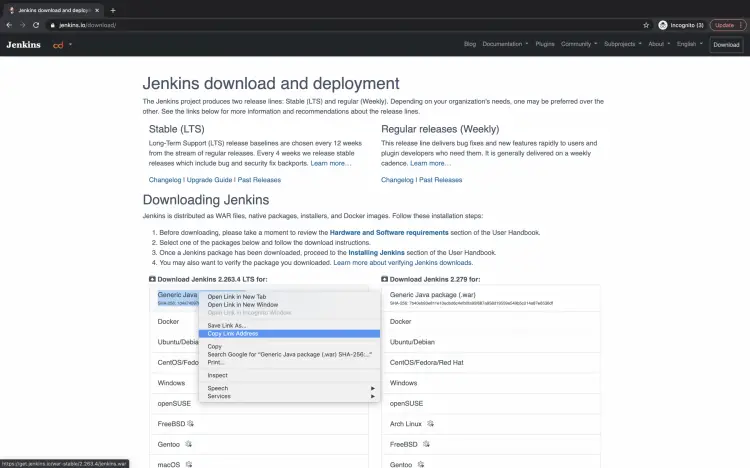
Go to the Jenkins download page and get the URL of the war file to download the Jenkins package
https://www.jenkins.io/download/
In this case, the following URL is for downloading Jenkins' war file.
https://get.jenkins.io/war-stable/2.263.4/jenkins.war
You can now use the "wget" command to download the war file to your server.
wget https://get.jenkins.io/war-stable/2.263.4/jenkins.war
ls -l

Go to the Apache tomcat website to download the package. We use the Apache Tomcat 9 package.
https://tomcat.apache.org/download-90.cgi
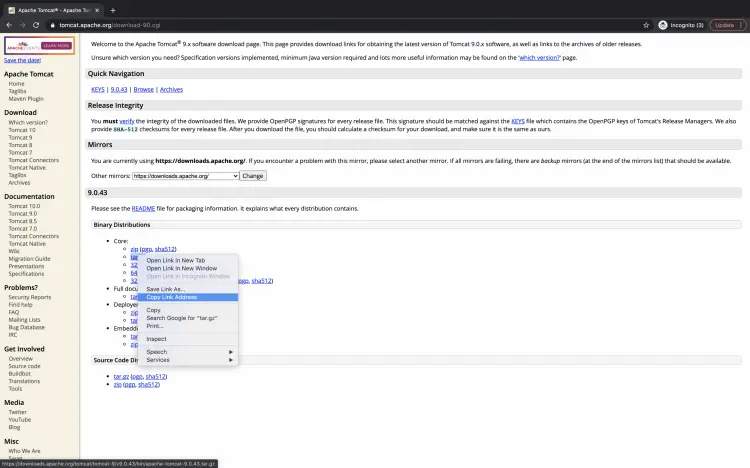
Download the URL of the package and download it to the server with "get".
wget https://downloads.apache.org/tomcat/tomcat-9/v9.0.43/bin/apache-tomcat-9.0.43.tar.gz
ls

Install Java and initialize Apache Tomcat with Jenkins
Apache Tomcat requires Java to run, so before proceeding we need to install java on the server.
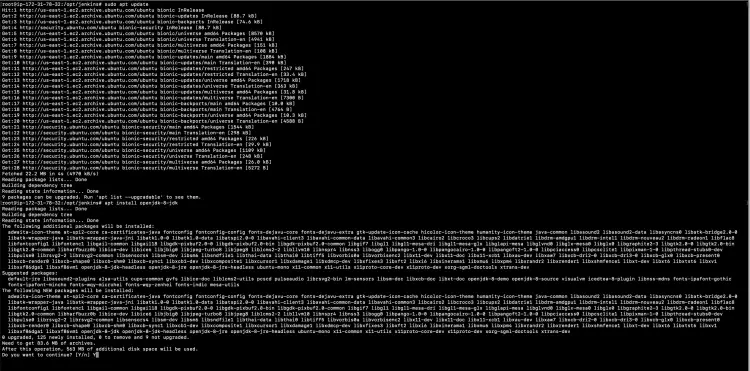
Use the following command to update the system.
apt update
After updating the system, install Java 8 on Ubuntu with the following command.
apt install openjdk-8-jdk
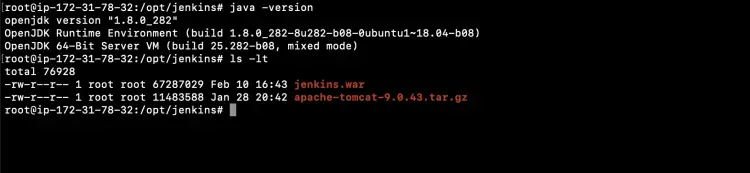
Check the Java version to make sure Java is installed.
java version
ls
Now we are ready to use Apache Tomcat. Extract the tar file that we downloaded in the previous step.
tar -zxvf apache-tomcat-9.0.43.tar.gz
ls

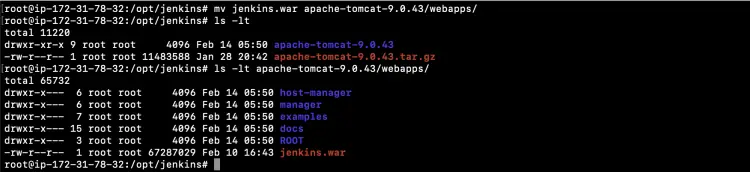
Move / copy Jenkins war file to the Apache Tomcat web app directory.
mv jenkins.war apache-tomcat-9.0.43 / webapps /
ls
ls -lt apache-tomcat-9.0.43 / webapps /
We are now ready to launch Apache Tomcat. Before that, let's see if the 8080 used by Apache Tomcat is free or not.
cd apache-tomcat-9.0.43 / bin /
netstat -tulpn | grep 8080
If no other service is running on 8080, we are ready to launch Apache Tomcat.
Use the following command to start the service.
./startup.sh
Check if the service has started.
netstat -tulpn | grep 8080

Check that Apache Tomcat has started successfully and that there are no errors in the logs.
tail -100f ../logs/catalina.out
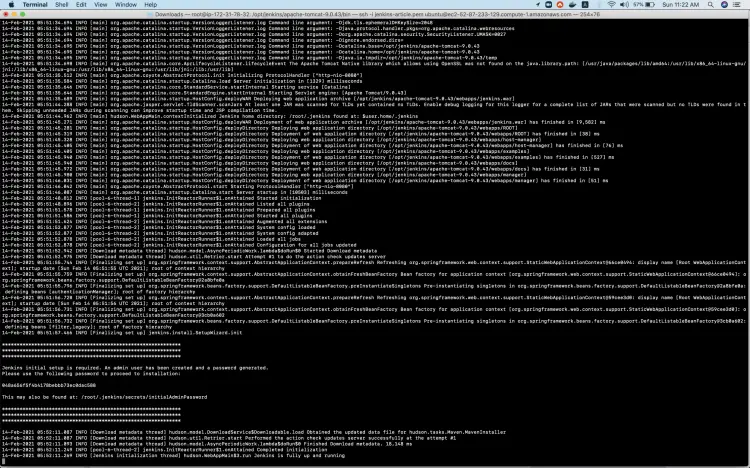
We need to do the first installation of Jenkins, to do that we need to use the password available in "initialAdminPassword".
Get the password required to log in to Jenkins. You can see the "initialAdminPassword" file path in the Apache Tomcat logs.
cat /root/.jenkins/secrets/initialAdminPassword
You can also check if the Apache process is running, use the following command.
ps -ef | grep apache

To access Jenkins on Port 8080, we must ensure that the incoming connection on the port is allowed in the EC2 instance security group.
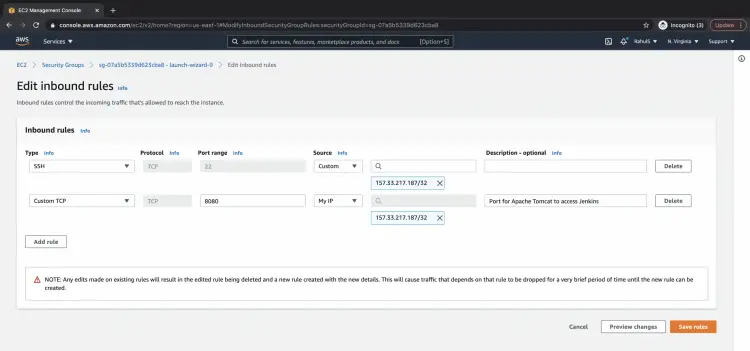
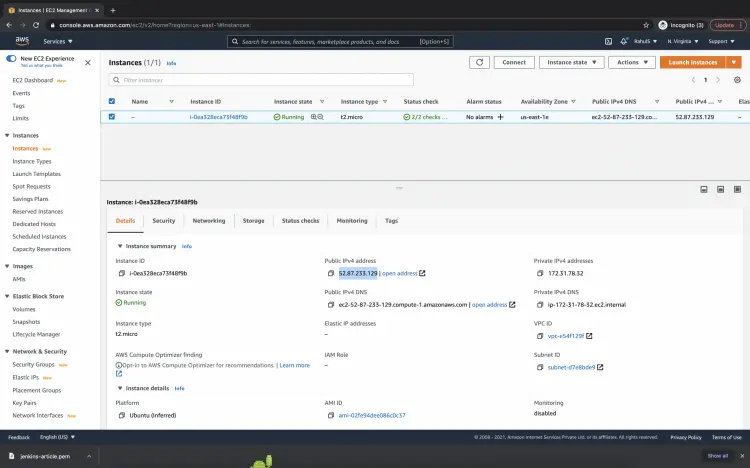
Obtain the public IP address of the EC2 instance.
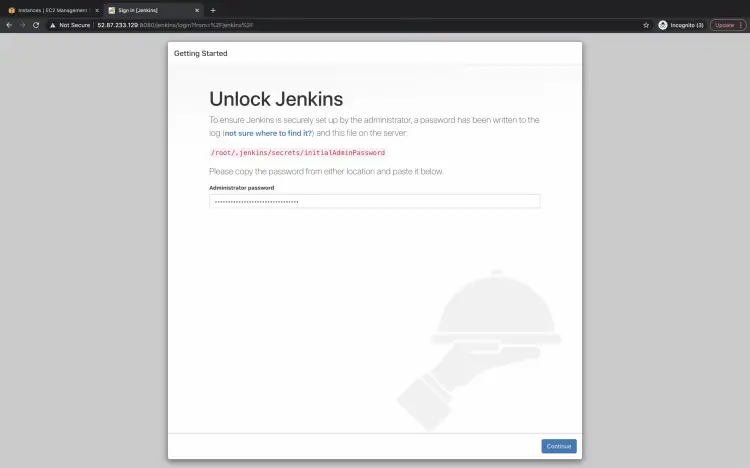
First installation by Jenkins
Go to Jenkins at http: //
http://52.87.233.129:8080/jenkins
Enter the password retrieved from the "initialAdminPassword" file.
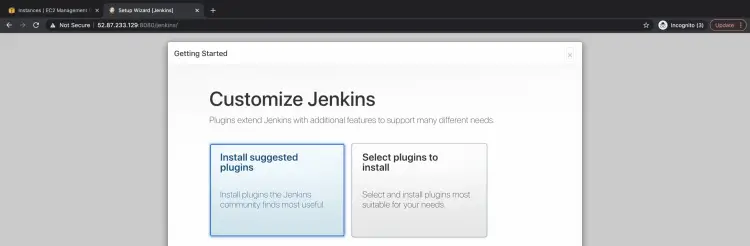
Customize Jenkins and install suggested plugins. It takes some time.
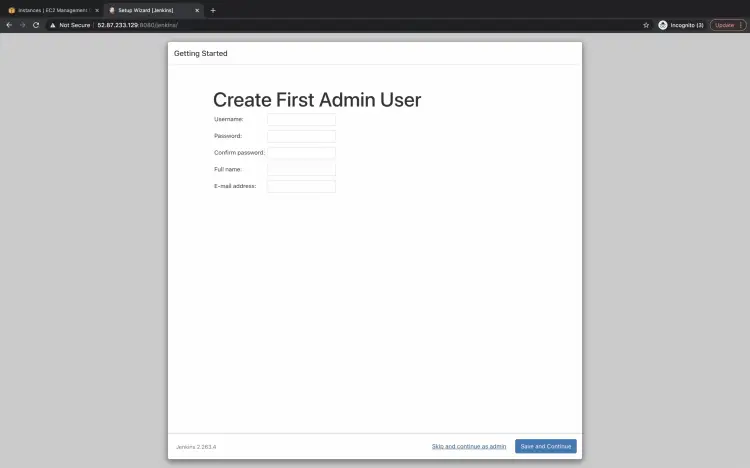
You can create a new administrator user or skip user creation and continue with the current administrator user and password.
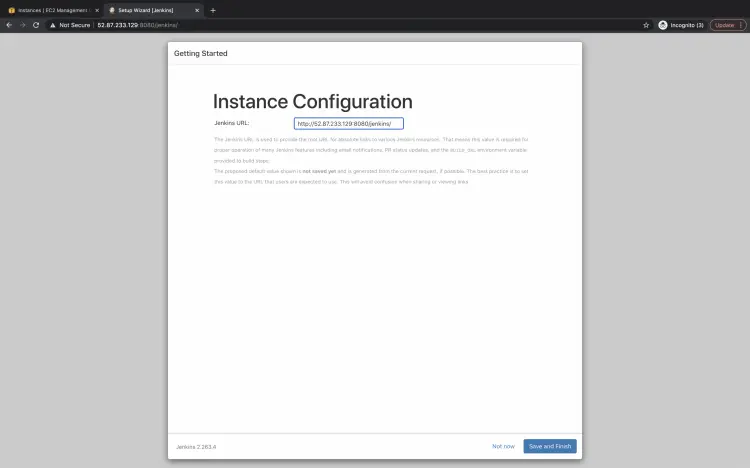
Keep the URL as it is and click "Save and Finish".
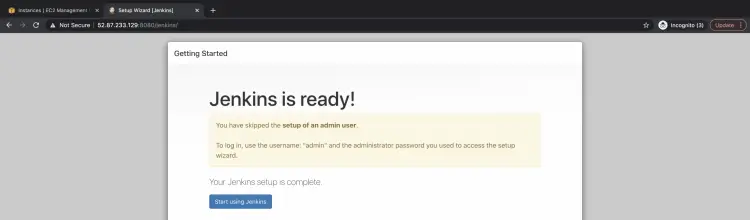
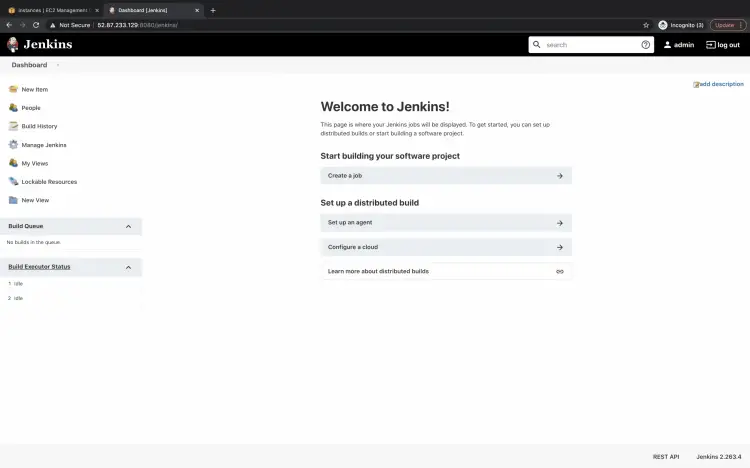
Now Jenkins is ready to use.
Here you see Jenkins Dashboard.
Conclusion
In this article, we looked at the steps to install Jenkins with the .war file. We performed this activity on the AWS EC2 Ubuntu 18.04 server. We installed Java required by Jenkins and used Apache Tomcat to distribute the jenkins.war file. We logged in with the Admin user and did the first installation of Jenkins with the suggested plugins.
Source link
2021-03-05
How to Install Jenkins With Tomcat in Ubuntu
Source: https://howtosanta.com/how-to-install-jenkins-with-a-war-file-in-aws-ec2-ubuntu-20-04-instance/